
Did you know your Nikon camera has a “hidden” exposure mode?
Sure, we’re all familiar with Program, Aperture Priority, Shutter Priority, and Manual – but there’s one that’s left off of the list – and that’s Manual Mode with Auto ISO.
Basically, this setup allows you to adjust your F/stop and shutter speed to exactly what you want and it floats the ISO in order to generate a proper exposure.
At first this may not sound like that big of a deal, but imagine a mode where YOU get to set the most important parts of the exposure equation – the F/stop and shutter speed – and you let the camera figure out the exposure by adjusting the ISO.
With a mode like that, you could instantly increase shutter speed if a situation went from static to action with just a quick flick of your finger on the control dial. You could also adjust F/stop on the fly for added depth of field – and at the same time you were increasing your shutter speed. Pretty cool huh?
See the video to discover why this is so advantageous, why it’s better than using Auto ISO with one of the regular exposure modes, and how to set the whole thing up on your Nikon.
Finally, remember that this isn’t for everyone or every situation. Personally, I love it for wildlife photography, but I usually switch back to full “regular” Manual or Aperture Priority for landscapes. So, think of it as another tool in your toolbox – but make sure you give it a try; you might find it quickly becomes your new favorite exposure mode!
Video:
Example shots:
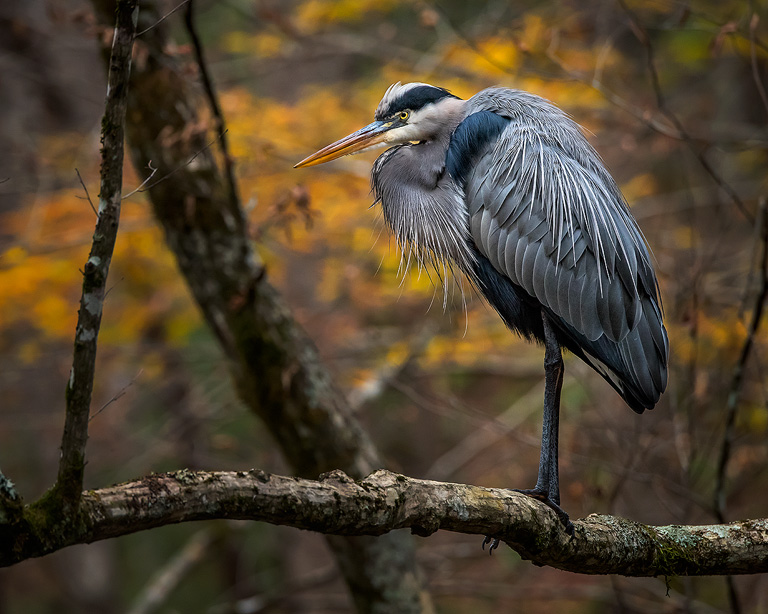
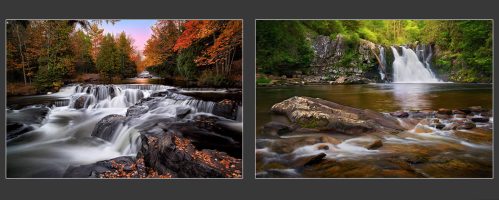
This is a typical “before” image. Since this was just a static shot, I only needed 1/350th of a second. I went for F/6.7 just to tighten up the sharpness a little on my 80-400mm.
Now, had the heron started his pre-flight checklist (leaning into the wind, dropping exhaust, that sort of thing), I would have been able to quickly bump the shutter speed up a notch or two for a flight shot. I wouldn’t need to go in and raise my ISO in order to increase shutter speed – the camera takes care of ISO automatically. In this case, I subtracted ½ stop of exposure compensation to keep things from getting a little overexposed.
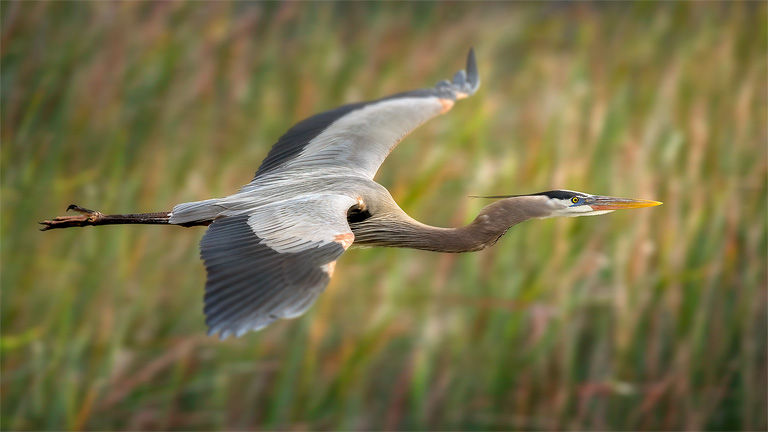
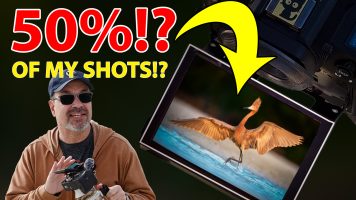
Now, here’s a typical “after” shot. It’s not the same bird as above, however the circumstances were very similar.
Moments before, I was snapping off some quick shots of this guy on his nest. For those images, I was around 1/350th of a second and I had my 600mm nearly wide open at F/4.5.
I could see he was about to take off and I knew I would want more shutter speed and a bit more depth of field. With a couple quick flicks of my fingers the shutter speed was up to 1/640 and the F/stop was down to F/6.3. No messing with ISO or exposure modes – my eye never left the viewfinder. I simply set the shutter speed and F/stop to what I wanted, and the camera picked an appropriate ISO – in this case 1250.
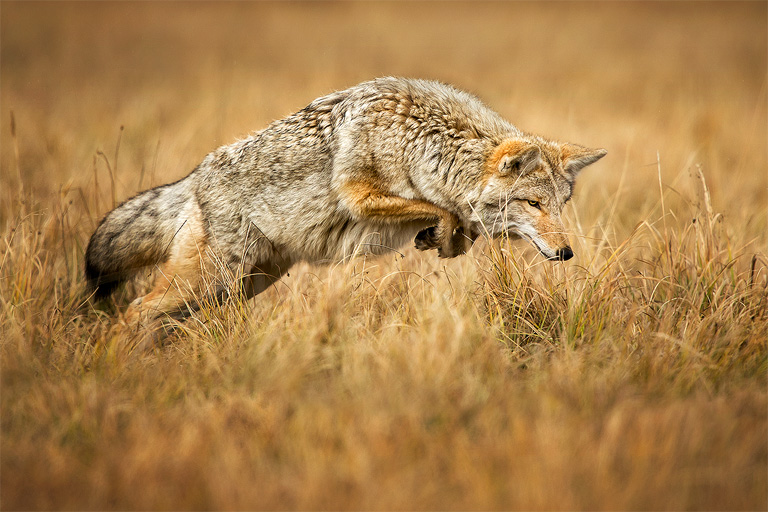
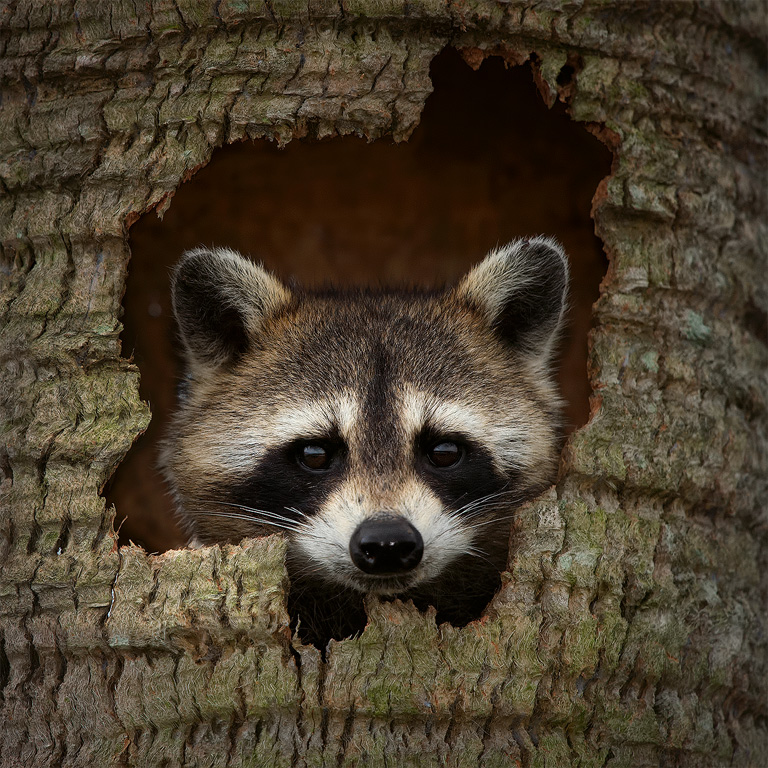
Of course, it works for mammals too!
In this case, I was taking “posed” shots of him surveying the meadow. For those, I was at a slower shutter speed, so the camera selected a lower ISO.
However, when I could see he was on a mouse, I simply bumped the shutter speed to stop the action and the camera automatically increased the ISO.
Note – In this case, I left the F/stop at 6.3 for the duration (I had a 600mm + a 1.4 teleconverter so I stopped down a touch to increase sharpness).
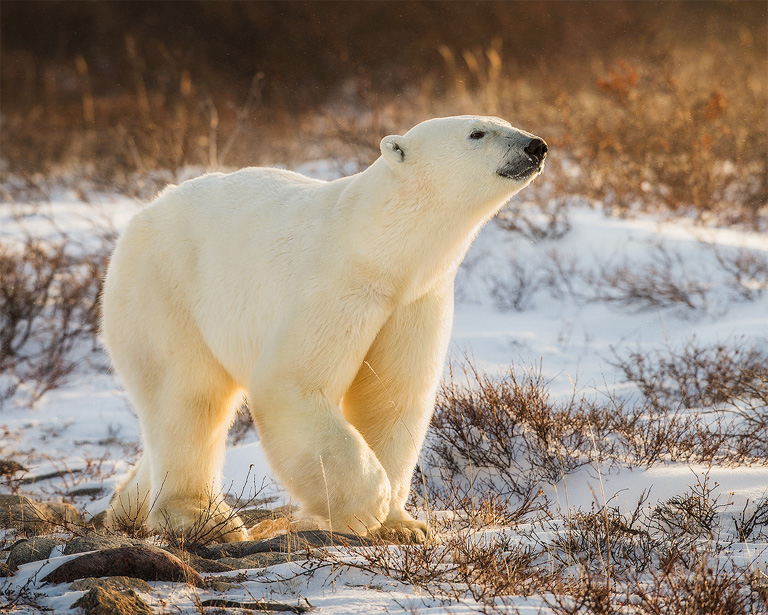
For this image, I wanted to make sure I had good depth of field, particularly around his head, plus enough shutter speed to stop his action and that of the people bouncing around on the polar rover (well, it felt like they were bouncing anyway).
1/1000th and F6.7 did the job. I had + ½ stop of exposure compensation dialed in to help keep the snow from tricking the meter into an underexposure. The camera picked ISO 640.
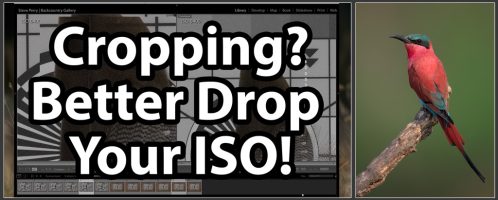
One aspect I like about this technique is that it helps me use the lowest possible ISO when I’m shooting static subjects. By setting my shutter speed as low as I can get away with for a particular situation, as well as opening my lens as wide as I can for said situation, I’m automatically shooting at my lowest possible ISO – without having to dive into menus or mess with buttons and dials to change it.
Although this image was pushing ISO 2500, it was still the lowest ISO I could get away with based on the settings I needed to pull off the shot (1/320th at F/6.3). If I were using Aperture Priority with Auto ISO, I’d almost certainly have a much higher shutter speed set for my minimum shutter speed and would have needed to go in and adjust it. With regular ISO, I would have been constantly changing it to keep up with the falling light levels. With this setup, as the light level falls, the camera will gradually increase the ISO without my intervention.
Of course, any of these images could have been captured in any other exposure mode, no doubt about it. However, I find that using Manual Mode with Auto ISO makes on-the-fly changes much quicker and allows me to make creative decisions much faster than the other exposure modes.
So, give it a try and see if it works for you 🙂
PS…
If you enjoyed this article, I think you’ll REALLY like my e-books, Secrets To Stunning Wildlife Photography and Secrets To The Nikon Autofocus System. They’re filled with hundreds of pages of information just like this. Check it out – click here (hey, it’s free to look 🙂 )
How do you maintain focus on moving wildlife when in manual auto ISO
Hi Steve. Many thanks for yr. fantastic video. I’m learning a lot of tricks from you, tricks that are very useful. I’ve got Nikon D 750 and I tried to use M + AutoISO shooting with my telezoom when I am obliged to use shorter speed and higher ISO. In this situation I choose aperture and speed and D 750 changes Iso automatically. Very well, all is ok, but….when I change lens (f.i wide-angle) and I want shoot in A…Auto ISO is active!! To avoid this, is it possible to include this function (M + AutoIso) in U1? I’m hoping… Read more »
Good info-Will try those lower shutter speeds on static subjects to get more detail and a lower Iso. tks
Ah yes, I just revisited this tutorial. Now, I will try it with my D850. I am just a hobbyist, but I sure have learned and improved from your tutorials. Thank you, Steve!
Hello Steve thanks for your tips books and videos. I plan to use this technic. I wonder how to avoid underexposure when shooting flying birds with the sky in the background. Thanks for your advise.
I’ve had good luck with metering the sky ahead of time and checking the histogram. Take a test shot of a bird and maybe adjust exposure compensation before the next shots of the birds. Hope this helps.
When Using AUTO ISO Mode, is it really ignores the metering mode? On what basis ISO or SS is Calculating available Lights power? what is the use of metering modes in camera while using AUTO ISO?
I just started doing this about a month ago, courtesy of this video. I found that my exposures are more consistent and I am a lot better at reading the changing light. Thanks a lot. p.s. if you are interested in snail kites send me a email.
[…] Videos (links open in new tab)Manual With Auto ISONikon Mirrorless Performance TipsFinding Your Subject With A Long LensLong Lens Tripod […]
[…] And Back Button AutofocusHow To Use A Polarizing FilterLong Lens Heat DistortionManual Mode With Auto ISOLens Diffraction In PhotographyCropping Full Frame Vs Shooting A Crop CameraUse A Teleconverter Or […]
[…] (Highlight Warning)HistogramsNikon AF ModesCopyrightM + Auto ISOAll About Auto ISOBack Button […]
[…] M + Auto ISO Video – Click Here […]
Hi Steve, Really enjoyed this article BUT…on trying to set my D70 up I find I can not find sensitivity or speeds in shooting menu? i
[…] sky middle-toned in a situation like this and full manual metering works perfectly for it (I was in Manual + Auto ISO). The problem here is that Matrix Metering places a fairly heavy bias on what’s under the AF […]
[…] to shoot M + Auto ISO – it allows you to very rapidly change your shutter speeds – see this post for more […]
Only found these videos today as recently purchased (upgraded) to the D500 and shooting with the 200-500 lens, this video (going to try it tonight) hopefully will help me and sharpen my pictures, also get more keepers…. so fingers crossed
A fantastic mode that was hidden for all these years in my cameras. I gave it a try… just to see… and I actually can’t go backwards now, it is so convenient! I can’t believe it!! How to thank you Steve.. I think I am going to order your books and video for some more discovery 😉
[…] Manual Mode With Auto ISO […]
[…] Manual + Auto ISO Video: https://backcountrygallery.com/manual-mode-with-auto-iso/ […]
Hi Steve, Thanks for this great video on Manual mode+ Auto ISO. very well explained with ideal examples. I have a question since I use this method for Dance Photography where there is continuous movement of the subject. I have D500 camera and I use back button focus. One issue I face is that most of the time the dancer is performing in front of dark background like Black, Blue . I have found that many a times photographs gets underexposed or over exposed and when I check the ISO camera has used is low (640) or 2000 (max) though… Read more »
Hi Steve,
for some reason I found this feature a while a ago when i did the set up for the U1 on my Nikon. I have it set to a max of ISO 800,1/250 and f5.6 ….which I use basically for shooting wildlife or moving things and had great results with the setting. It helps a lot
Steve, I just watched you most recent video on Auto ISO, and understand it a bit better than the first time I saw the original offering above. The thing I am still struggling with is its application with shooting moving animals (birds and alike). In a scenario where the animal is moving against a varied background I can see the cameras metering giving some unpredictable results, ones that you would have to try and adjust for by using Exposure Compensation. So, yes, you do not have to fiddle the ISO while the scene is changing but you may be required… Read more »
This is another wonderful video that I learn a lot about auto ISO. I’m going to give a try when I have the opportunity.
[…] M + Auto ISO Video: https://backcountrygallery.com/manual-mode-with-auto-iso/ […]
I am just stumbled with your video and website while researching the new Nikon 500mm pf lens; was at B&H yesterday and tried it at the store. Excellent review! In the end, elected to go with a mint condition used 500mm f4 vr instead; which will make up for what I have not been able to achieve with the 200-500 or the 300 f4. Your tip here on M setting while the camera auto adjust ISO is something I never understood before. It is just so practical…THANK YOU and Happy New Year!
Love your videos. I’m glad you addressed the exposure compensation issue towards the end, I was wondering about that. A question about the display: On the D500, when I set it to AUTO ISO and manual mode, it doesn’t display the ISO reading, it only blinks AUTO ISO. Is there a setting to show the change in ISO as it does the reading?
Thanks!
Yes, there is a setting under Shooting/display d*3 ISO display- turn this to ON
Great info. I’ve had some success with this very set-up which is my primary go to for wildlife. Thanks, Steve.
This option is precisely what has been missing from my D800–and also my newly-arrived D850. As I was setting this option in place, the D850 was first in line. I used that impressive new (for me) tilt screen/touch screen with my finger. Done immediately! Now it was the D800’s turn. Without thinking, I started pressing menu options on the screen with my finger. Oh, no, Mr. Bill! Not a touch screen. Just one more “Wow! I love this D850” moment. Thank you Steve (and thank you Nikon). Bill Bailey
LOL – I find myself doing that too with my older nikons! Glad it’s not just me 🙂
[…] Since the light was relatively consistent and the situation wasn’t too tricky, I went with my go-to autoexposure mode, Manual + Auto ISO. In this mode, I choose the shutter speed and F/stop and the camera floats the ISO for proper exposure. (More info here.) […]
Hi Steve
Am in the process of trying out your Manual with auto ISO, I am impressed and think I shall be using this system most other time on my D500
Cheers and Thanks
Paul
I have been using this technique for a couple years. Works wonderful switching exposure from light to dark birds. I recently found your website and have purchased you e-books… Guide To The Nikon D500 and Secrets Of Nikon Autofocus. Maybe our paths will cross someday in Florida.
Excellent explanation! I have been using this method of about a year now and it was one of the most invaluable tips for a visit to Bosque del Apache last year. I was easily able to switch from fast shutter speeds to capture those tack sharp images to slow shutter speed blurs as the light deteriorated in an instant without moving my eye from the viewfinder and I ended up with far more “keepers” than I would have done previously. I highly suggest other give it a try!