It can be a real source of frustration.
You get this fancy new telephoto lens, hang it off the front of your camera and are more than a little disappointed with the not-so-sharp results. So, you do a little digging and discover that maybe a tripod is what you need to sharpen up those photos.
So, with dreams of spectacularly sharp images dancing in your head, you plop down the cash for a nice new tripod and head. You barely have the gear out of the hands of the UPS man and you’re out in the field.
However, when you come back to your computer and check out the images, to your astonishment they still aren’t as good as expected! What went wrong? Well, it could be a number of issues, but the first place to look is tripod technique. In the video below, I show you how to use the long lens tripod tricks I’ve been using for years to get sharp images on my memory card. Check it out:
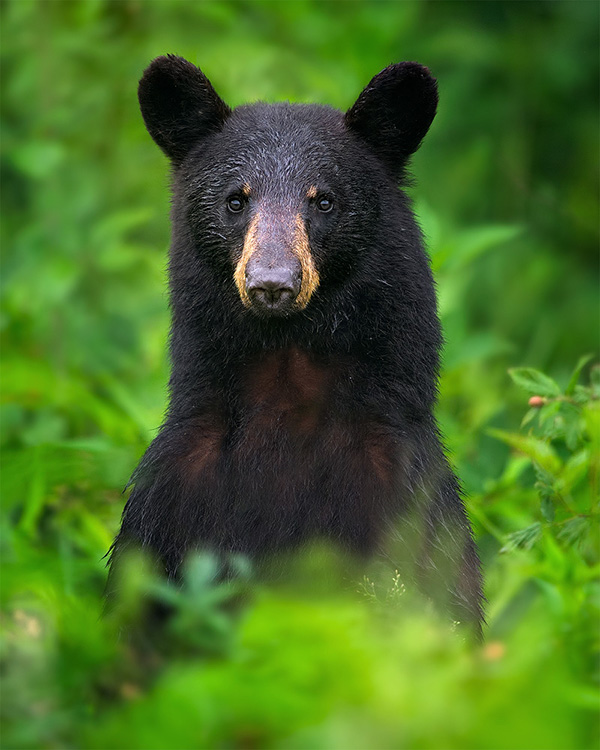
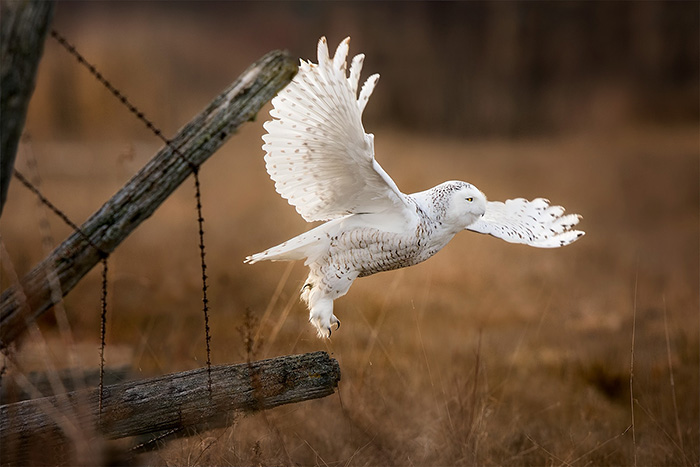
The techniques in the video are the ones I use every day out in the field to capture images like the ones you see below.
For this black bear image, I was faced with a dim morning and not as much shutter speed as I would have liked. However, careful use of the techniques mentioned in the video allowed me to pop off shots like this until we had our fill.
In many cases, you need to stalk your subject with the tripod, as was the case here. Although I had decent shutter speed, I was using a tripod to keep from becoming fatigued while I waited for the inevitable flight shot. Had I been hand-holding my 600mm as I pointed it at this snowy owl and waited, it’s a pretty good bet no amount of shutter speed would have helped my shaking arms!
PS…
If you enjoyed this article, I think you’ll REALLY like my e-books, Secrets To Stunning Wildlife Photography and Secrets To The Nikon Autofocus System. They’re filled with hundreds of pages of information just like this. Check it out – click here (hey, it’s free to look 🙂 )


[…] new tab)Manual With Auto ISONikon Mirrorless Performance TipsFinding Your Subject With A Long LensLong Lens Tripod TechniqueBalancing A Gimbal HeadMore Videos / […]
[…] TipsLong Lens Heat DistortionSolving Autofocus Problems – 8 Common AF Problems And SolutionsLong Lens Tripod TechniqueUnderstanding Nikon AF Modes (updated)Get The Most From Nikon’s Auto AF Fine Tune SystemAF […]
This is the first time I comment on any of Steve’s contributions but I feel like I must since some precision request mails got me on that video. I don’t agree with the importance of having the horizontal pivot dead centred with the lens. True, it is critical to have a well balanced combo in the cradle BUT not at all to have it stay where it is left after SR. I suggest to have the cradle lowered by some 1 or 2 mm so the combo will resume an horizontal position — ready to shoot where ever the next… Read more »
great video as always, Steve, like a movie – easy to understand and interesting to look!
Hi Steve,
What is your recommended VR settings for Nikon super-tele lenses? I use a Nikon 500mm F4G that has “Normal” and “Tripod” VR modes. Do you suggest turning the VR on/off for any of the below circumstances and if on, which VR mode do you recommend:
1. Shooting BIF
2. General Shooting at higher than 1/focal length shutter speeds
2. Shooting on a tripod with Gimbal head
3. Shooting on a monopod with Gimbal head
4. Panning shots
Thanks much for all the wonderful videos those are really helpful!!!
Hi – 1. I usually have mine off, but some people like the extra stabilization in the viewfinder. The 500G doesn’t seem to care too much about shooting VR with higher shutter speeds, so either way works. 2. Again, the 500G seems to do fine with VR on at higher speeds, so if you find it helps keep the viewfinder steady, go for it. From strictly a sharpness standpoint, once you start getting to 1/500+ shutter speed is doing more to net you a sharp image is than VR. 3. Depends on the shutter speed. If I’m on the slow… Read more »
Thank you Steve! Really appreciate your quick response. That really helps!!!
Best wishes for the year 2017 of Switzerland
Serge Pittier