
Have you ever felt like your photos were a little, well, flat? Are you looking for ways to add depth and dimension and give them more of a 3D feel?
In this video, I’ll share the three primary methods I use to help create depth and dimension in my own photos, plus I’ll show you a few of my most common Lightroom techniques that can take it to the next level. Check it out – this is gonna change the way you shoot!
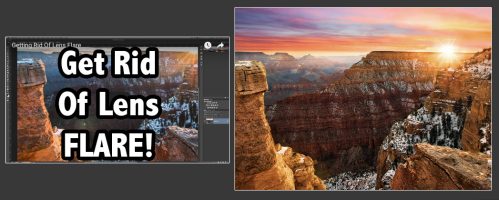
Video covering how to blur backgrounds in photoshop – click here.
PS – If you enjoyed this post, I think you’ll REALLY like my e-books and video workshops! Thousands of pages and hours of videos filled with tips, tricks, and techniques – all my best content! Check ’em out – click here (hey, it’s free to look).


If you are bothered by glass waste – https://affordablewastemanagement.co.uk/our-services/glass-collections/, it was this sevris in a comfortable manner that helped me get rid of waste and other problems with cleanliness, I never thought that it would be possible to get rid of such a neglected situation that we had with this issue, but no, now it is incredibly clean and I just can’t keep silent when everything is done so well!
I’ll demonstrate a couple of my go-to Lightroom tricks to help you advance your photography.
Great Tips for 3D Images.
Great video and LR demo.
Thanks Steve for this, tried yesterday with some birds, very pleased with the results. The PP work in LRC is the icing on the cake!
That’s great to hear!
One of my favorite videos yet, due to the post processing demonstration! Can’t thank you enough.
Thanks so much!
Fantastic tips Steve. I have been darkening and detexturizing the entire background. I will try the radial mask for a more natural look.
Thanks for the kind words 🙂 Have fun!
Great overview. Real practical tips to get the most out of your shots. Thanks
Thanks so much!