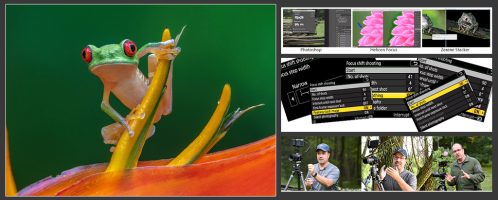
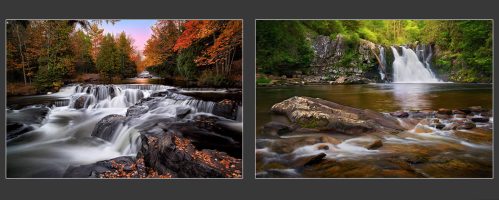
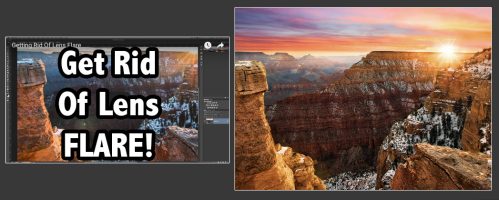
Wanna make your web images look their best? Then you need a good resize and sharpening method! I’ve tried quite a few and discovered there’s a lot more to it than just shrinking down an image and applying a quick bit of sharpening. You need to know the proper bit depth, color space, resize method, and even what corrections will be needed AFTER you resize. The right combination makes a huge difference and this video shows you how!
Also, feel free to download my sharpening actions for Photoshop below. Completely free – but remember, nothing says “Thanks” like subscribing to my channel or e-mail newsletter (or both). 🙂
Actions:
https://www.backcountrygallery.com/sa.zip
PS…
If you enjoyed this article, I think you’ll REALLY like my e-books, Secrets To Stunning Wildlife Photography and Secrets To The Nikon Autofocus System. They’re filled with hundreds of pages of information just like this. Check it out – click here (hey, it’s free to look 🙂 )


Wondering why you use Sharpen and/or the Unsharp Mask vs. Smart Sharpen?
Hey Steve, thanks again for sharing this. Would you use the same process to create images for instagram or is it even worth going through this for that platform?
Hi Steve …. Thanks for great videos ….. Regarding the sharpening and resizing photos for the web …. does this technique work if I was to print the photo too?
Sorry for the delay, I missed this post. No, it really doesn’t apply to print. For prints, I use the unsharp mask and just oversharpen a bit. Works really well.
Steve… Great workflow and method. I’m definitely going to do some testing in this compared to what I currently do. I’d be interested in hearing your comments on the ppi portion and what you think after some years have gone by and 4K/5K screens are becoming more common. I can understand continuing to save at 72 for protection of digital property, but if you want the best and sharpest image, I have found that 310ppi is best after talking with some photographer teachers from Apple. I could be wrong, but if I am I would be interested in your reasoning.… Read more »
hey steve ! love your gallery and e-books! it has helped me alot ! thanx for that.. im wondering if you would like to share your method when it comes to sharpening for print?. have a great day steve
nice post
I’m wondering why the standard resolution in your actions is 300 ppi. You mentioned in the video that you could make it 72 and it really didn’t matter. I think it does, if you’re concerned about somebody grabbing your image(s) and using it elsewhere.
I would think setting the resolution to 72 or 100ppi and then saving the image at 5 or 6 would help protect the image, rather than posting it at 300ppi (even though the resulting image size is small it can easily be enlarged).
Would appreciate your comments.
Hi Perry,
Thanks for this great tip in resizing and sharpening. But this also apply to upsizing a picture instead of downsizing? What is the best method to prepare a picture for printing on big gallery print format?
Hi Steve
Great tips, I prefer your method and action vs using a plugin such as Nikk . Your method for me makes all the difference in web quality output.
It would be nice if you would do a video for sharpening at printing. I do my own printing on an epson pro 3880, and I am always using LR6.8 for sharpening. I am a retiree and photography is my main hobby.
Thanks again
Luc